
I’m often asked what medium I paint in. I’m also asked what process I use. Well, I’m going to give you an overview of how I paint and what I paint with! I’ll save the details of my supplies for another blog (or perhaps a video in the very near future ;)). So, as far as what medium I use…mainly acrylics. I’ve had many people mistake my style for watercolor. I’ve played with watercolor, oils, etc. but I always land back at acrylic. I like the efficiency of it, the quick drying time, and really the thickness and texture. I do NOT use the thinner craft paint. It would take a lot more patience to have to put layer upon layer for that! I use a medium grade painter’s acrylic. Again, more on that later! But if you are starting out, I would strongly recommend you NOT go for the cheap thin craft paints. It will just lead to needless frustration.
Now that I answered that question, on to my process! But before I jump in, know that everyone is different. Again if you are a beginner you need to play with all sorts of types of paint, brushes, paper…whatever you can get your hands on. Just like styles are different, we all naturally end up preferring one medium over another. That being said, same goes for the process. When I started out, I was told you have to make a grid. So I would put a grid on my reference photo and then my canvas or paper. Well, this works for some artists, but I find it physically painful! I think grids are for whom I affectionately call “left-brained artists.” These are the artists that love detail, want their artwork to look as realistic as possible, and enjoy putting hours and hours…and hours into a piece. I would fall into the right brained artist category, ok? I look at the big picture…more the feel of the piece and the color. So if you are more detail oriented, I bet you’re gonna love that grid!
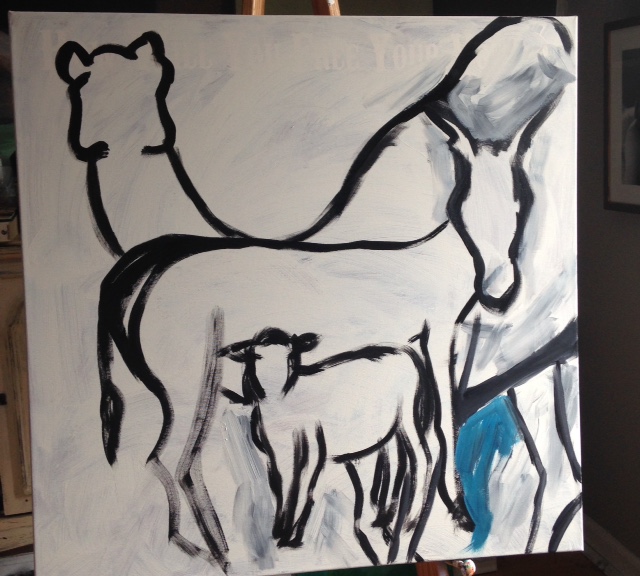
So then I moved on to drawing an outline with pencil…it helps when you are starting out. I highly recommend it for starting out! I’ve always used a reference photo, unless I’m doing something much more abstract…and I have had those phases. Right now, in dealing mostly with animals, I use a reference. So now what I’ve learned works really well for me is to do a rough outline of the main subject in black. This helps with composition, to make sure everything is lined up on the piece the way I want it, and also to make sure I have a good idea of how the lines work on the subject. I want an elephant to LOOK like an elephant! I’ve also learned that I can use the black in the painting for contrast and it has really become a distinctive characteristic in my current style. Here is the finished product on my piece called “Manger”.
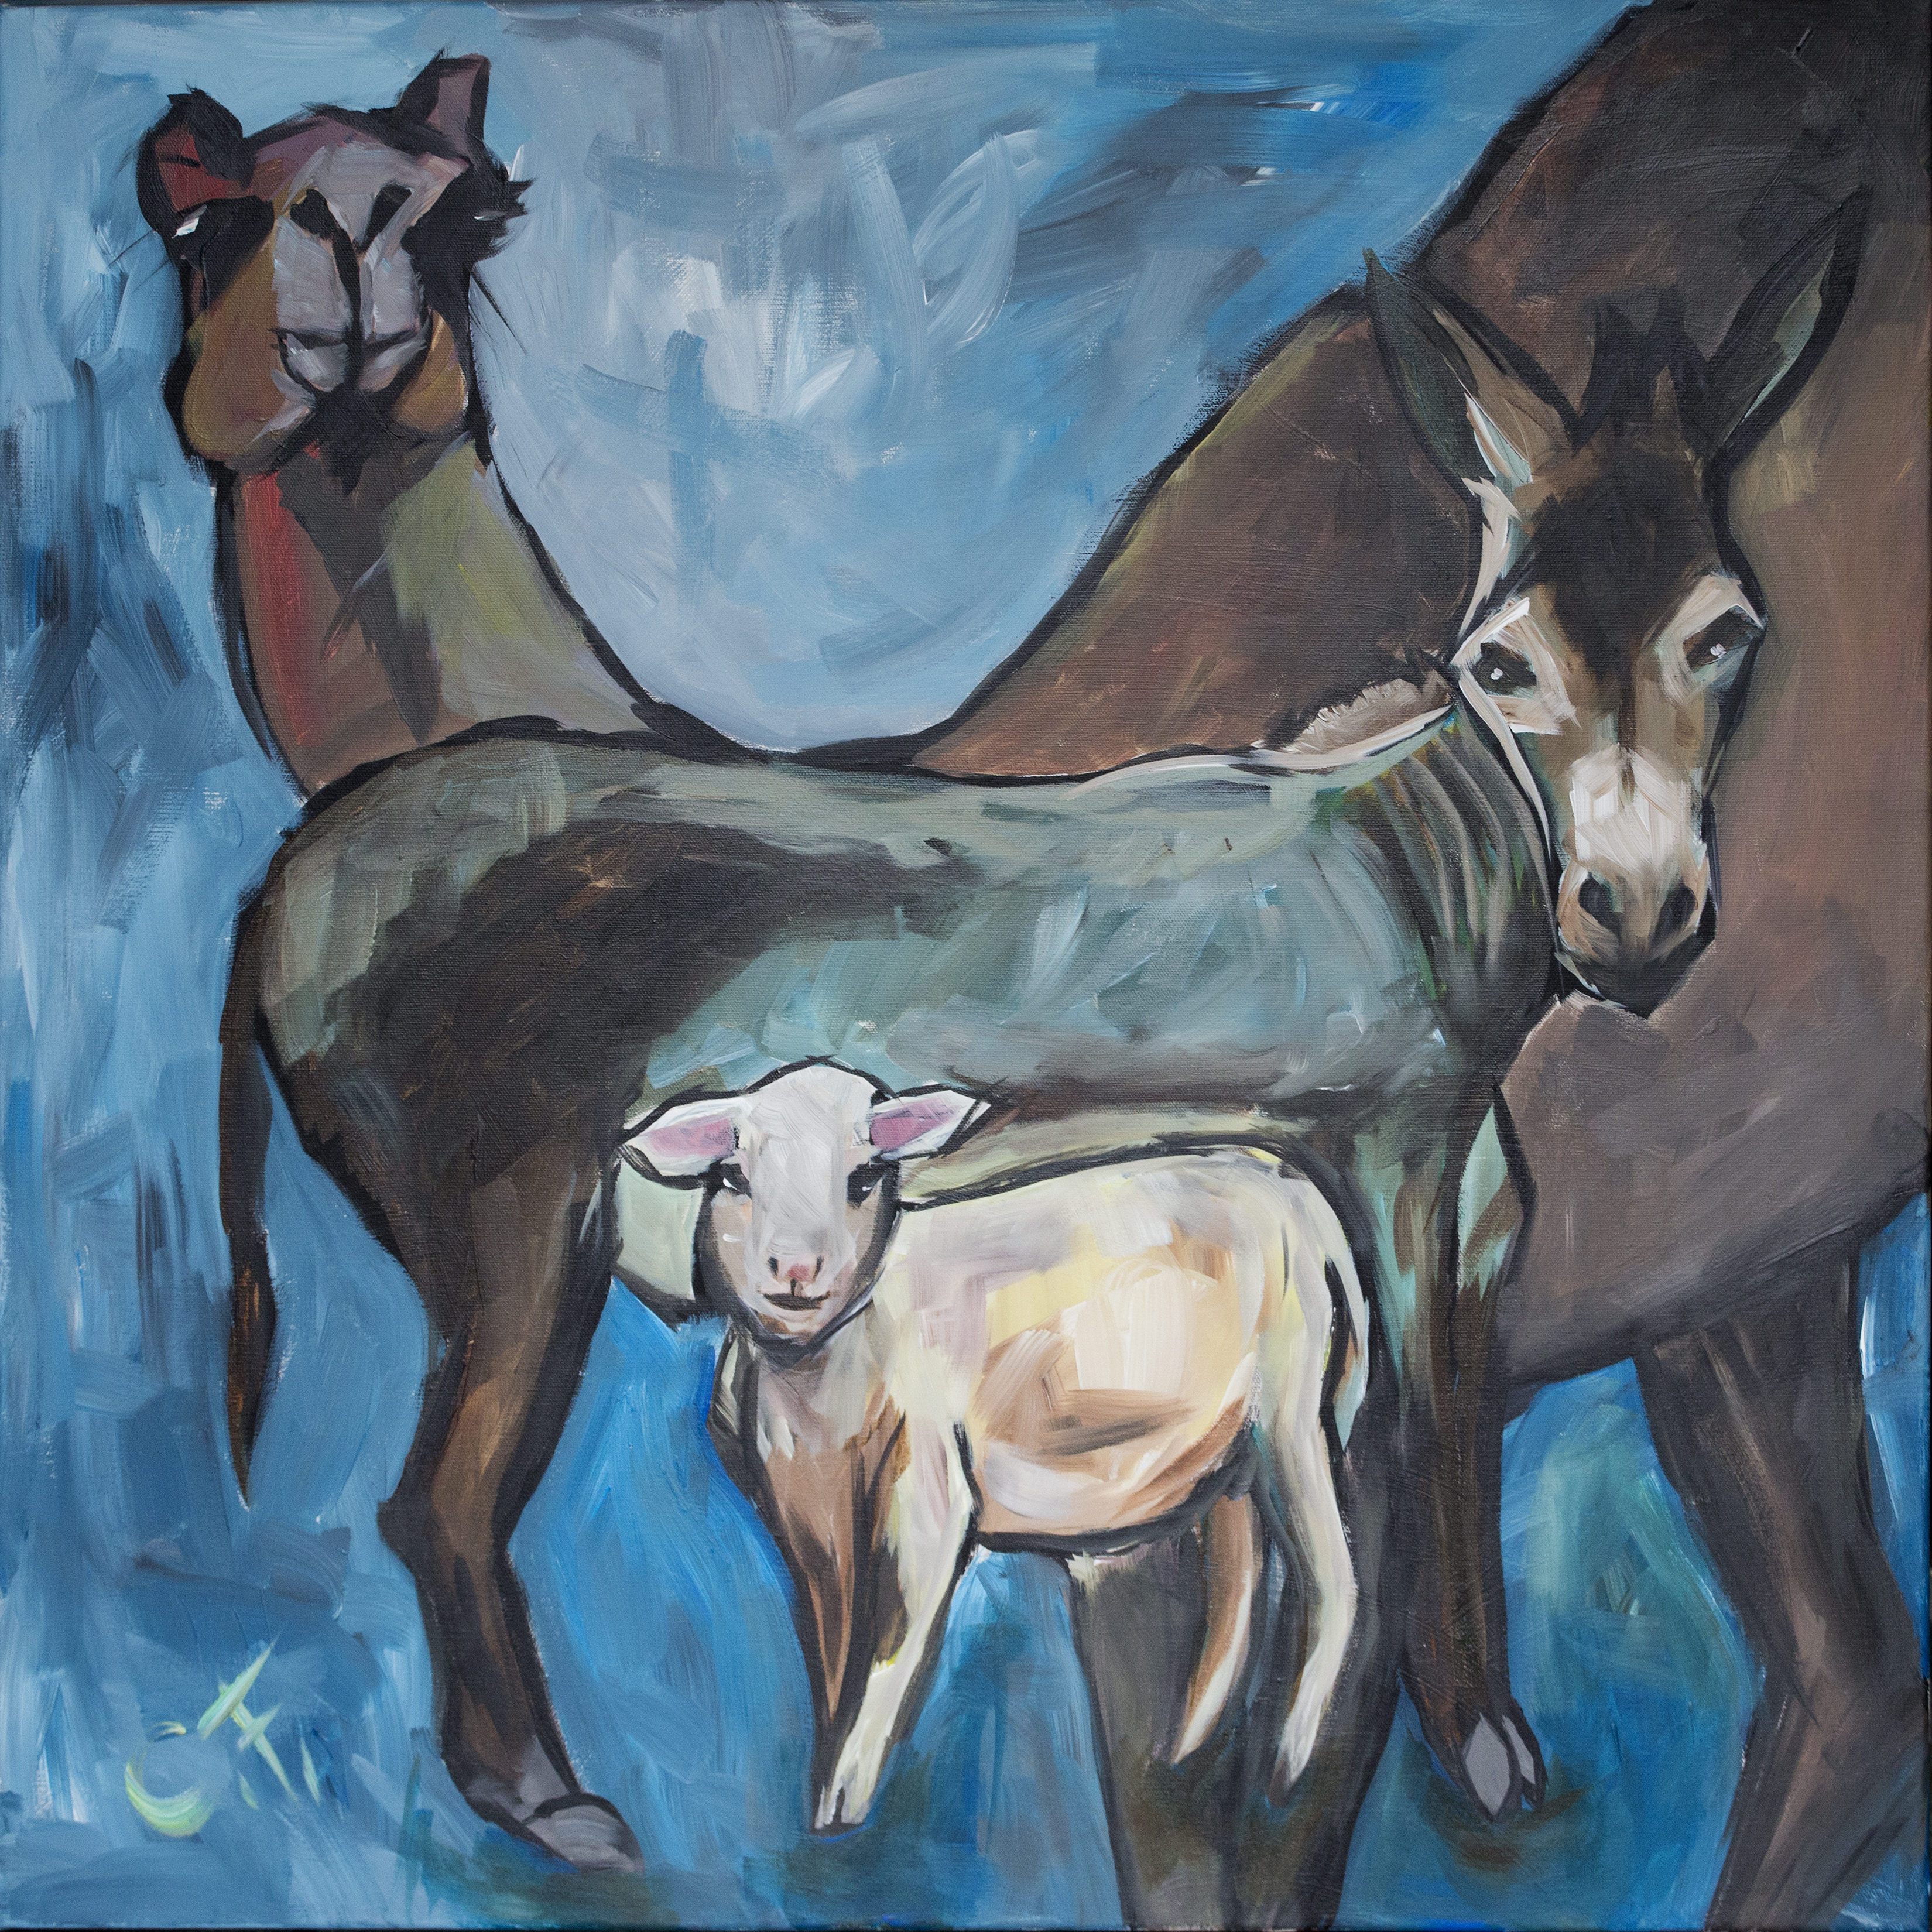
You can see the black outline of the animals. Sometimes the outline is more obvious than others. Just depends on the day and what I’m feeling!
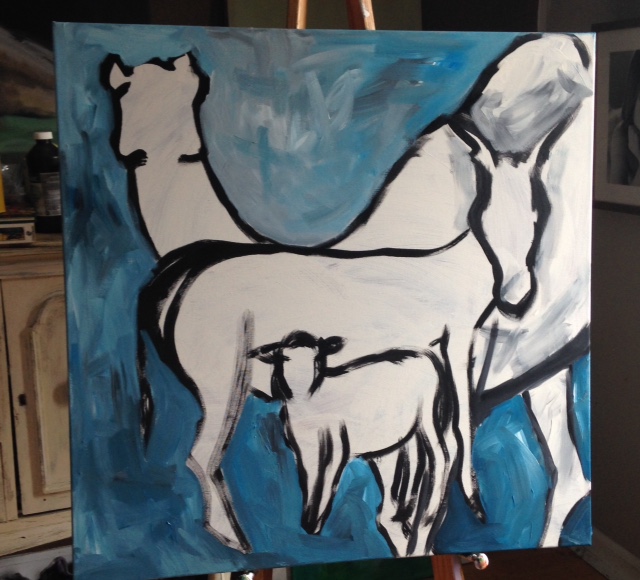
Once I’m happy with my outline, I go on to the background. I usually go back over the background color as I paint the main subject, but I will do a tentative coloring to get me started. I generally fall into a blue/teal range of color or sometimes warmer tones…oranges and yellows. Or a mix of several!
Once I do the background I start in on the animals. It’s really at this point that I typically decide what colors I’m going to use. My animals are not realistic. I like color and want to add boldness to my pieces. So I will pull some of the colors I’ve chosen for the background and try to keep them complimentary. This is really when I just play and have fun. The less planning I do at this point the better. And sometimes I have to start over with the colors…which is one of the advantages of acrylic!
So there you have it! I’ve kept it fairly basic. I’ll be offering more on my art later, but for now I hope you are inspired to go create!
Happy painting!
Chelle